Backgound:
This pages holds some notes on how the photographs on this site have been produced.
There are many commercial software packages for stitching panoramas, over the years I've tried several of these, but it is not my intention to review them. Their features change frequently so any comparison quickly goes out-of-date. For all the images on this website I've used Hugin, its open-source and therefore free.
Hugin is a "swiss army knife" of photographic tools. For the new user this often leads to fustration. Once you can master the way it works, it is as natural to use as any other tool.
Uses of Hugin.
You can alter the projection, size and cropping of the output image, these are fairly straight-forward.
Next you're faced with eight check boxes..
Hugin is a "swiss army knife" of photographic tools. For the new user this often leads to fustration. Once you can master the way it works, it is as natural to use as any other tool.
Uses of Hugin.
- Stitching panoramas.
- Perspective correction.
- Aligning focus stacks
- Aligning images for tone-mapping
- Generating HDR images
You can alter the projection, size and cropping of the output image, these are fairly straight-forward.
Next you're faced with eight check boxes..
Hugin
At first the curious user is tempted to check all the boxes and hope.. This results in a huge results directory which they then wade through looking for something they like.
Output:

The eight check boxes really represent three completely different use cases.
- Normal for joining a single set of images into a 'blended' panorama
- Exposure Blending for joining multiple 'layered' sets of images into a LDR format
- Merge to HDR for joining mutilple 'layered' sets of images into a HDR format
The three options select different programs to handle the blending of the images; enblend, enfuse, and hdrmerge.
Normal
For joining a single set of images into a 'blended' panorama with or without exposure correction.Enblending a single layer
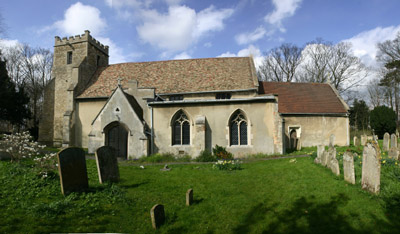
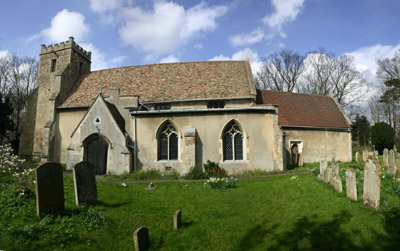
This the default output option for joining panoramas, and therefore does not need much explanation.Three photographs of Milton Church, taken by carefully rotating the camera about the centre of the lense.
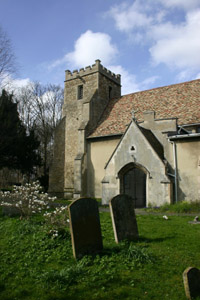
|
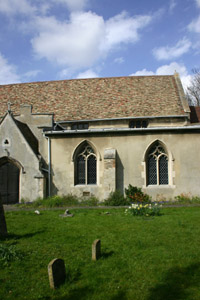
|
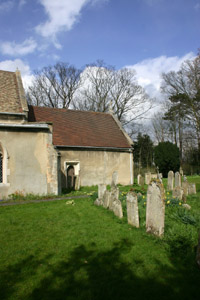
|
Select the projection, from the drop-down options.
Rectilinear Projection.
Cylindrical Projection.
For full 360 panoramas rectilinear is not an option...
Correcting small changes in exposure.
If the exposure was not fixed as the camera was rotated for the panorama this will create banding in the final image. The exposure optimisation tab can be used to remove this. As long as the exposure changes are relatively small.

Uncorrected: Changing exposure causes banding
Going back to the "Exposure" tab .....

Corrected: Exposure of each frame is optimised.
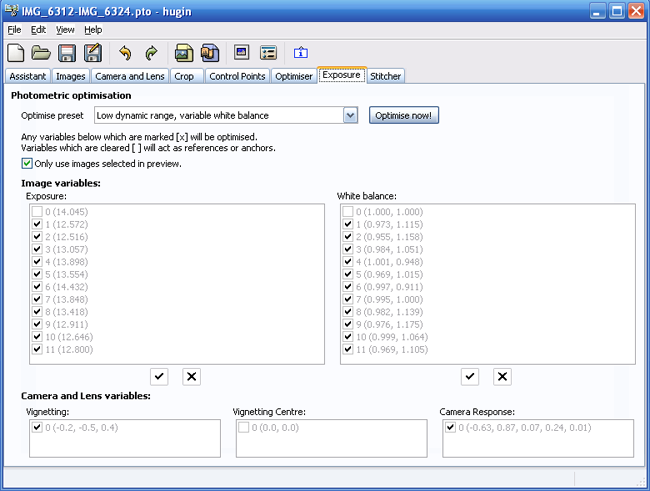
Select "Low dynamic range" for single layer of images, this will adjust each frame's exposure either brighter or darker to match the selected anchor image. This can be done either with or without white balance correction.
Select "High dynamic range" for stacks of bracketed exposures, this will not adjust exposure, but will allow correction of Vignetting, and white balance if required.
Exposure Blending
For joining multiple 'layered' set of images into a low dynamic range formatActually the term "Exposure blending" is misleading; this option blends stacks of bracketed exposures.
Note. It can also be used for 'focus stacks'
Enfusing multiple bracketed layers
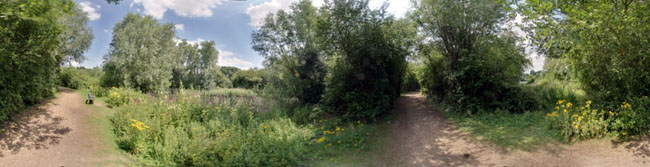
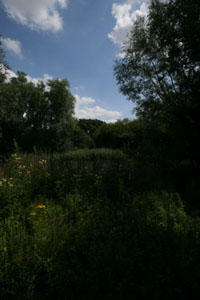
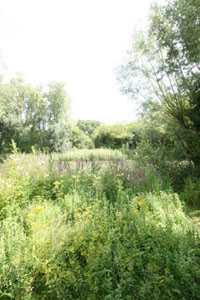
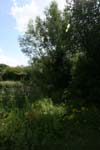
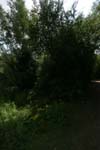
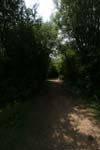
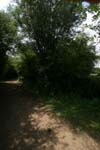
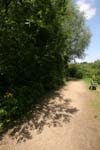
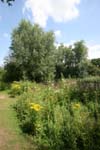
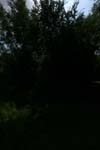
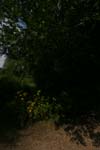
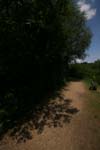
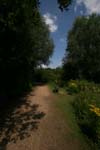
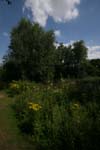
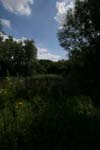
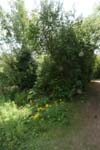
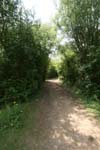
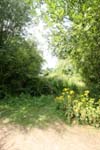
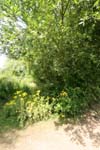
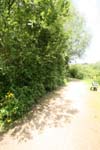
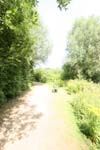
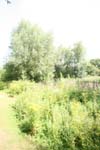
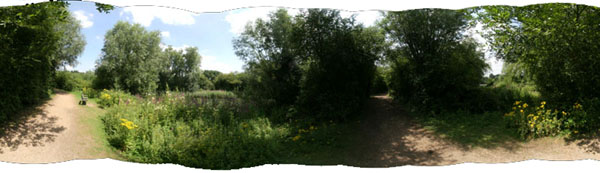
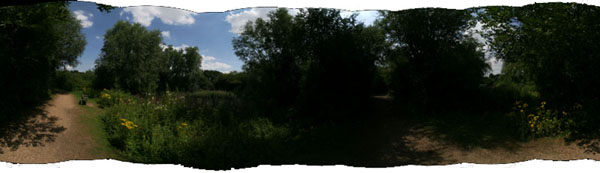
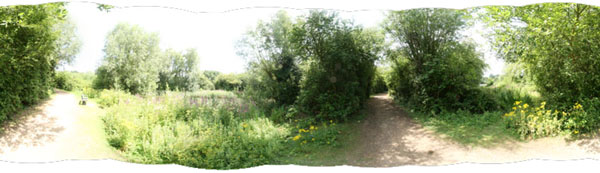
View over Hall's Pool, Milton Country Park.
This is a challenging location for a panorama, there is a bright sky, and dark shade under the tree.
It is not possible to choose a single exposure which gives a pleasing result. Taking the camera's automatic exposure setting, the sky is over-exposed and the foreground plants are under-exposed. By bracketing the exposure by +2 and -2 stops the sky and foreground can be better exposed.
|

|
|
|
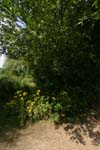
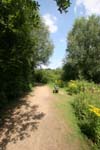
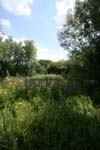
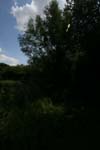
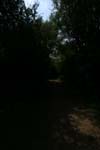
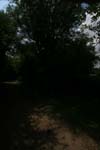
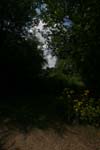
2 stops under-exposed. Cloud details captured in brightest area. |
Camera's suggested exposure. This is exposed for the centre ground. |
2 stops over-exposed. Tree details captured in darkest area. |
Take the full 360 degree panorama, at three fixed exposures.
|
|
|
|

|
|
|
|
|
|
|
|
|
|
|
|
|
|
|
|

|
|
|

|
|
|
|
|
|
|

Selecting the 'Blended exposure layers' option also generates the three 'intermediate' panoramas for each exposure.

Camera exposure:
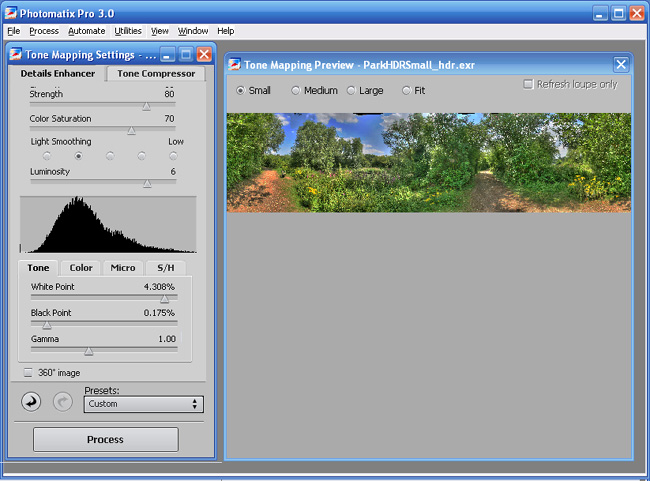
MERGE TO HDR
For joining mutilple 'layered' set of images into a high dynamic range formatRather than using Enfuse to combine the exposures, Hugin can combine them into a single HDR file. Such files can then be open in a third party tone mapping tool, for example Photomatrix:
And the immediate stages are available with the 'Stacked HDR images' and 'Individual non merged images' options.